
MeshForce M3 Setup
Meshforce networking devices are currently gaining immense attention in the networking world due to their incredible features. Meshforce offers several mesh wifi systems integrated with the latest technologies. So, if you want to access and configure the Meshforce M3 device, then the MeshForce M3 setup is necessary.
Similarly, this guide is focused on providing you with detailed insights regarding the Meshforce configuration process. Herein, you will learn about the detailed Meshforce M3 Mesh system setup procedure and other important information. So, stay on this page for more insights!
Essentials For the MeshForce M3 Setup
To begin with this configuration process, you must require several things. So, here are some of these things:

A Meshforce Mesh WiFi Router

Strong internet connection

Accurate web/IP address

Valid login details

My Mesh App

Computer/Smartphone

Ethernet cables, etc.
How to Perform the Meshforce M3 Mesh System Setup?
Moving further, there are two main methods to set up your Meshforce networking device, i.e., via the web browser and using the app. Both methods have different sets of instructions for carrying out the MeshForce M3 setup. Therefore, this section presents you with the detailed steps of both methods:
Setting up MeshForce M3 Via Web GUI
- Initially, make sure your Meshforce M3 networking device has a sufficient power supply.
- Then, connect your computer to the existing network.
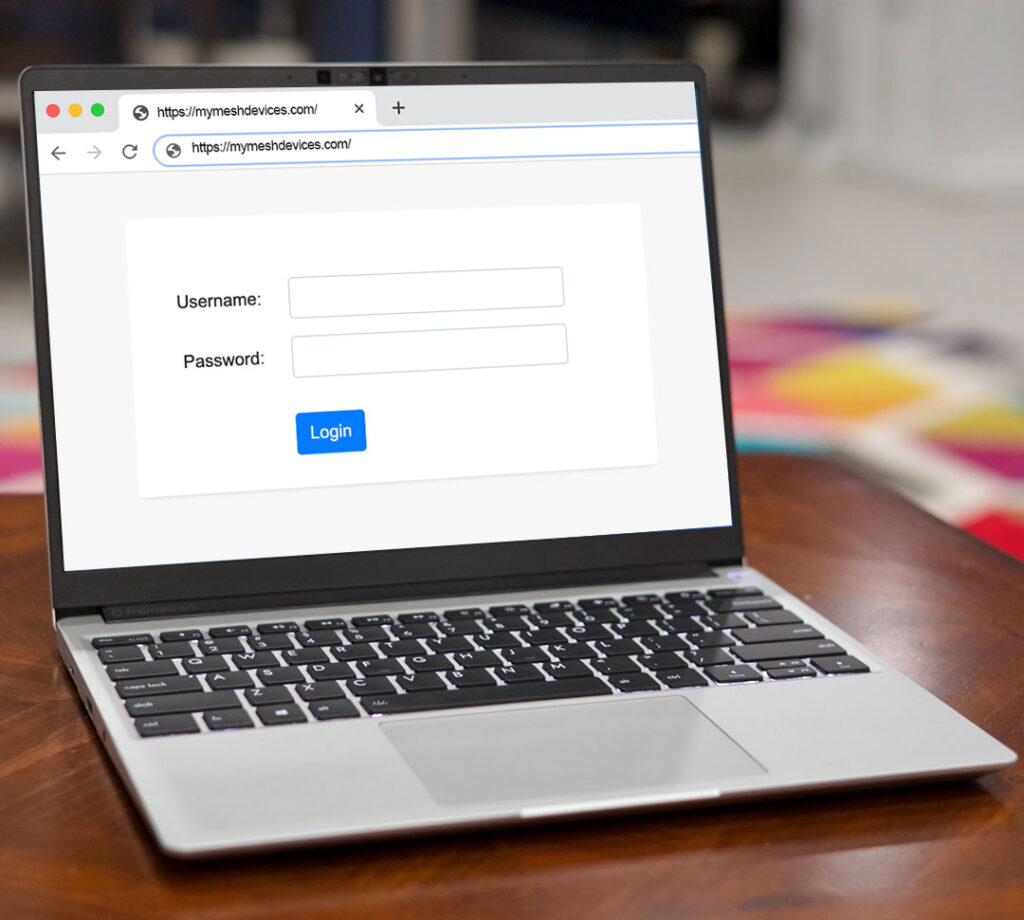
- Now, open a web browser and type the 192.168.0.1 IP address in the browser bar.
- Hereon, a login window appears.
- Now, complete the Meshforce M3 router login by entering valid admin details on this page.
- After that, you reach the smart setup wizard of the router.
- Now, navigate to the Settings>WiFi/Wireless Settings to modify your current SSID and password.
- Further, edit these details in the given fields and secure your wifi with the WPA2-PSK security mode.
- Then, visit the Advanced Settings to configure the AP Mode, Bridge Mode, Parental Control, Guest Network, etc. settings.
- Finally, tap on save/apply to implement these changes.
- At last, the MeshForce M3 setup process ends.
Using the My Mesh App For M3 Configuration
- Firstly, turn on the Meshforce M3 router.
- Then, connect your smartphone to the home wifi network.
- Further, install or update the My Mesh app on your smartphone.
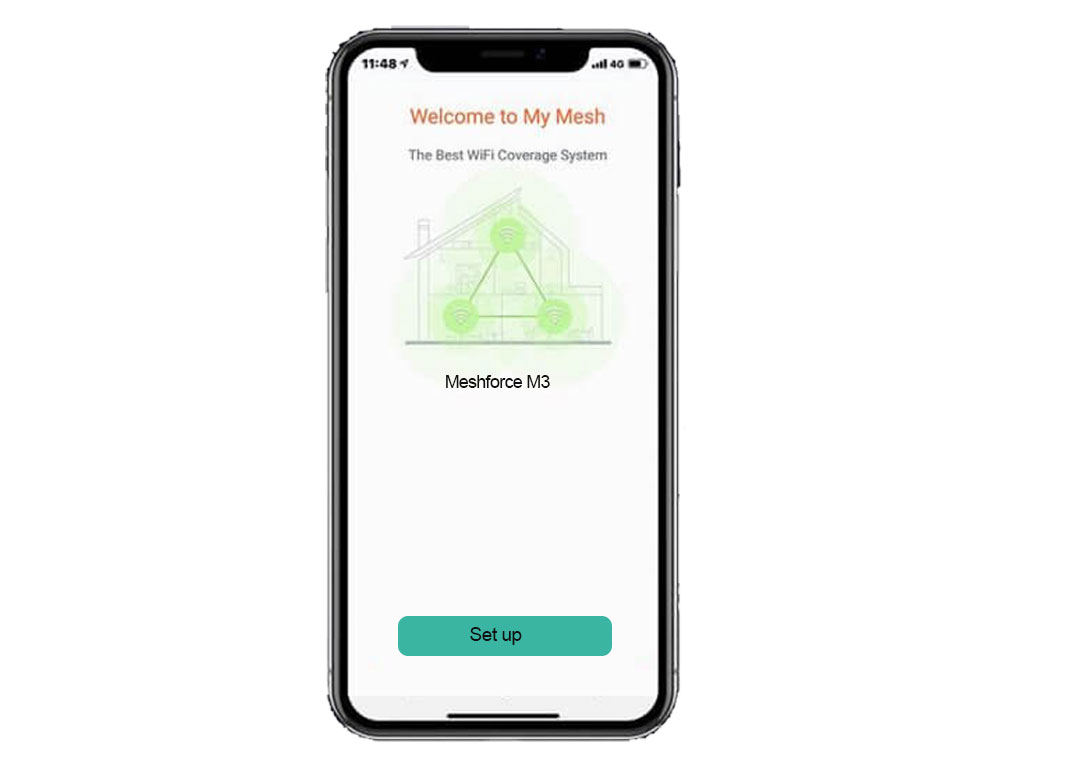
- Now, launch this app on your smartphone.
- After that, perform the Meshforce M3 router login using valid details.
- Next, you enter the Welcome page and click on the ‘Setup’ option here.
- Further, go to the Main Menu from the dashboard of the router.
- Hereon, navigate to the Advanced Settings and follow the in-app instructions.
- You can configure the Guest Network, Ap/Bridge Mode, etc. settings on the M3 router.
- After that, tap on Save/Apply to secure and implement these settings.
- Lastly, this configuration process ends.
Stuck in the Meshforce Setup? Try These Meshforce M3 Troubleshooting Tips!
Occasionally, users face multiple issues when configuring their networking devices. However, the issues arise due to internet connectivity issues, power outages, incorrect settings, firmware issues, etc. So, to fix these issues, use the below-given Meshforce M3 troubleshooting tips:
- Most importantly, ensure that you have a stable internet connection. You can use the ethernet cables to stabilize your internet connection.
- Additionally, inspect the power supply and regularly check the wall outlets. Immediately replace the faulty and brunt cables or adapters.
- Eliminate the network barriers like glasses, sheer curtains, microwaves, baby monitors, etc.
- Reposition your Meshforce router to eradicate the wifi connectivity issues.
- In addition, cross-verify the login details and IP address before proceeding with the Meshforce M3 configuration.
- Most importantly, power cycle your networking device to get rid of the technical glitches and bugs.
- Ensure that your router is placed in a ventilated and airy area, to avoid the device overheating.
- Use the latest version of the web browser and My Mesh app to proceed with the M3 configuration.
- Erase the unwanted browser data such as browser history, cache, and cookies from the browser and enable all the permissions.
- If you are unable to access your device via a web browser, then shift to the app.
- Check the latest firmware version on your device and update the latest version of it.
- During the Meshforce M3 Mesh System Setup, disable all the security extensions like VPN, Firewall, etc. You can re-enable them, after the configuration.
- When nothing works, then factory reset your device.
In essence, this comprehensive guide sheds light on the step-by-step procedure of the MeshForce M3 setup in a detailed manner. If you still want to know more, come to us!
FAQs
What Does the Green LED on the Meshforce M3 Device Indicate?
The indication of a solid green LED on the Mehforce M3 indicates that the internet connection is good. Meanwhile, the pulsing green LED indicates that the router is ready to set up.
How to Perform the Meshforce M3 Firmware Update Process?
To perform the Meshforce M3 firmware upgrade, first, access your admin panel via the web GUI. Then, navigate to the setup wizard, go to Maintenance, and select the Update or Firmware Update option. Now, follow the further instructions to complete this process.
What is the Best Way For the Meshforce M3 Factory Reset?
The reset button method is the simplest and easiest to factory reset the Meshforce M3 router. For that, locate, press, and hold the reset button on your device for 10 seconds. When the router flashes an LED, release it.
How to Power Cycle the Meshforce M3 Router?
To power cycle or cold restart your Meshforce M3 router, then, unplug the device from the power supply, wait for 30 seconds, and plug the devices back into the power source, as removed.
What are the Default Login Details for the Meshforce M3 Mesh Router?
The default username and password for the Meshforce M3 router is ‘admin’ in lowercase.